 Swiftlisted
How to Photograph and Describe Flaws in Resale Listings Without Losing the Sale
Disclosing defects on pre-owned items can feel like a tricky balancing act. Highlight a mark or a pull too aggressively, and you risk scaring off hesitant buyers. Gloss over it with vague phrases, and you leave yourself vulnerable to a return claim for an item not as described. The secret to selling flawed inventory quickly lies in precise photography and objective, matter-of-fact wording. By documenting defects accurately, you build trust, eliminate post-sale friction, and protect your margins across every channel where you crosslist.
Photographing Defects: Context, Close-Ups, and Neutral Pointers
A photo of a flaw taken without context creates unnecessary doubt. When a buyer sees a tight macro picture of a faded thread or a surface scratch without understanding where it sits on the garment, they usually assume the worst. To provide a clear and reassuring representation, always take two distinct photographs of every defect.
Start with a wide context shot showing the full item, using your finger or a plain neutral object to point out where the defect sits. This helps the buyer gauge scale and visibility immediately. Follow this with a clear, direct close-up photograph of the flaw itself. Avoid heavy digital filters, harsh direct flash, or artificial contrast adjustments, as these can distort colours or make a minor surface rub look like an open hole.
Clear natural light against an uncluttered background allows the true texture and colour of the item to show. If a flaw is subtle enough that direct front light hides it, take a photo from a slight angle so the buyer can see what you see when inspecting the piece in hand.
Structuring Your Written Disclosure: Specificity Over Subjective Labels
Vague descriptions like fair condition or minor signs of wear offer very little protection during a marketplace dispute. What feels like light wear to an experienced reseller might feel like severe damage to a buyer expecting a pristine piece. Instead of relying on subjective opinion, describe flaws using factual, measurable attributes.
A complete flaw description outlines four key details: location, size, nature, and severity. For example, rather than stating that an item has a mark, specify that there is a faint light brown mark on the lower front hem to the left of the main zip. Instead of writing that a sweater has snagging, note two tiny fabric pulls near the lower right seam that remain intact without any open holes or unravelled stitching.
By focusing on physical facts rather than vague judgements, you eliminate ambiguity. Interested buyers can assess whether the defect matters for their intended use, while difficult buyers lose the ground to claim the item was misdescribed.
Navigating Marketplace Rules and Lowering Claim Risks
Dispute policies, return terms, and condition definitions differ by marketplace and change over time. You should always check the current policies for each platform you sell on to understand how condition disputes are handled. However, across virtually every venue, thorough photographic proof combined with an explicit written statement in the listing remains your best protection against forced return claims.
Risk can never be removed entirely, but you can lower it substantially by placing your defect disclosures where they cannot be overlooked. Position condition notes near the top of your description rather than hiding them beneath long lists of measurements or shipping terms. If an item has multiple flaws, list them clearly with individual bullet points so skimmers do not miss them.
Maintaining Description Accuracy When You Crosslist
When you crosslist inventory across several platforms, keeping disclosures identical across every storefront is essential. If you edit a flaw note on one marketplace but forget to update secondary listings, you risk selling an item with incomplete details on a site with strict seller policies.
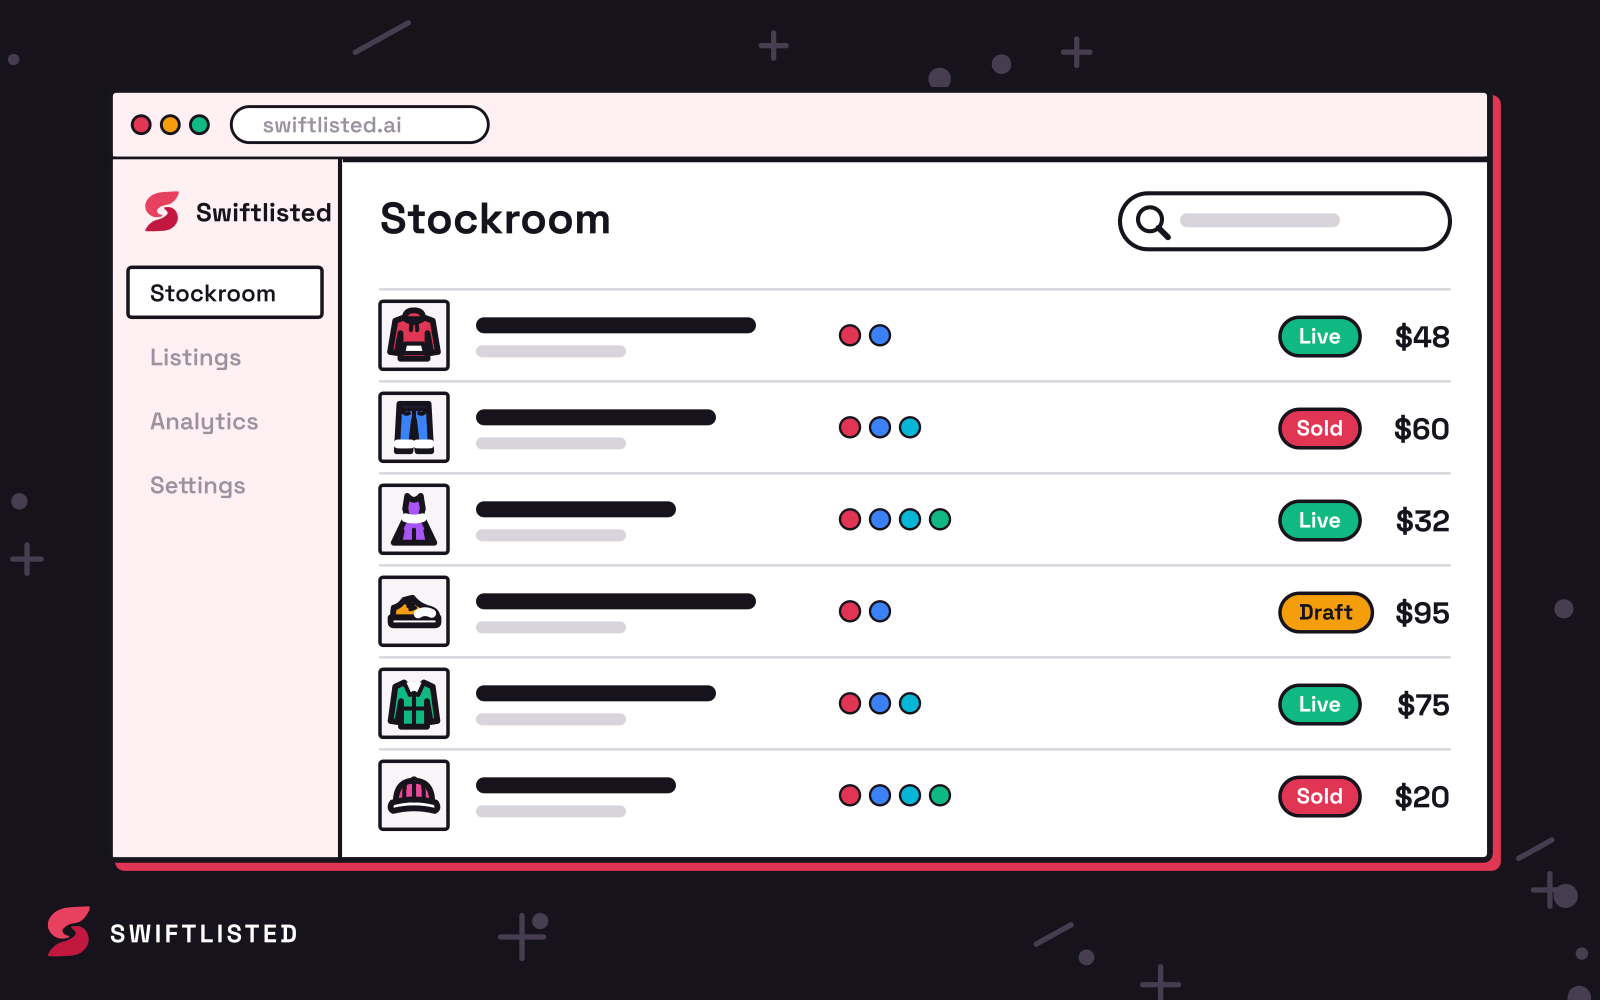
Listing software can streamline this process while reducing manual errors. With Swiftlisted, you upload photos of your item once, including close-ups of any defects. Google Gemini vision AI scans the images to generate an initial draft containing the title, description, size, and condition. Because every draft lands in an editable grid before posting, you can review the AI suggestions, refine your precise flaw wording, and crosslist the consistent listing to marketplaces such as Depop, Vinted, eBay, Etsy, and Grailed simultaneously.
Remember that while automated image scanning speeds up initial drafting, vision tools may not catch every subtle pull or faint mark. Manually inspecting the physical item in your hand and checking the generated draft before hitting crosslist is the safest way to ensure no defect is missed.
Essential Checklist Before Publishing Flawed Inventory
Before making a flawed item live across your connected shops, run through these essential verification checks:
- Is there a wide context photo showing where the defect sits on the complete item?
- Is there a clear close-up shot that accurately shows the colour, texture, and size of the flaw?
- Does the written text describe the exact location, size, colour, and nature of the defect?
- Are the flaw notes placed near the top of the description where mobile buyers can see them quickly?
- Have you verified that the exact same disclosures and photos are attached to every platform draft before you crosslist?
Common questions
- What should I do if I discover a flaw after an item has already sold?
- Contact the buyer immediately before dispatching the item. Send clear photos of the newly discovered flaw along with a message offering them the option to proceed with the purchase or cancel for a full refund. Dispatching a damaged item without notifying the buyer almost always leads to a dispute.
- Where should I position flaw descriptions within my listing copy?
- Place flaw details near the top of the description under a distinct heading such as Condition Notes. Avoid placing defect details at the bottom of long blocks of text, as buyers who skim listing details on mobile screens may miss them.
- What happens if a buyer opens a claim even though the flaw was described?
- Respond to the platform dispute with direct screenshots of your listing photos and the exact text snippet disclosing the flaw. Point out that the condition details were documented prior to purchase to show the item arrived as described.
- Does AI draft generation replace physical inspection of pre-owned stock?
- No. Vision AI provides a fast starting draft for general details like brand, size, and category, but subtle marks or minor seam issues still require human eyes. Always inspect your stock in hand and review your listing grid before crosslisting.
List once, sell everywhere
Swiftlisted photographs, describes and crosslists your stock across every marketplace you sell on — then delists it everywhere when it sells.
Start free trial